
Last updated October 16, 2026
 Wrought iron
 Wood & steel frame
 Farm & ranch
 Sliding driveway gates
 LiftMaster operators
Free on-site gate assessment - hinges, posts, and your LiftMaster or Nice gate operator checked before anything is quoted
The assessment is free and the quote is the invoice.
Get your free estimateGate Repair Maintenance Checklist for Orlando Homeowners
Gate manufacturers test their maintenance intervals in controlled labs – not in Central Florida’s June heat where ground temperatures hit 140°F and the UV index regularly tops 11. Your gate needs a different schedule than what’s in the manual. This guide is built around the actual weather patterns Orlando deals with: hurricane season, a dry winter that cracks seals, and sun exposure that breaks down plastics and finishes three times faster than national averages. By the time you finish reading, you’ll know exactly what to check each month, which lubricants actually hold up in Florida heat, and how to catch a failing opener before it strands you outside the driveway at 11 p.m.
Styles & brands we work with
Quick Answer
A gate maintenance checklist for Orlando homeowners means a month-by-month routine tied to Central Florida’s subtropical seasons: pre-hurricane prep in May, post-storm inspection in October, dry-season lubrication from January through March, and UV seal checks in August. The five essential tasks every month are: test the auto-reverse safety function, listen for grinding or hesitation in the opener, clear debris from the track and wheels, visually inspect weld points and hinge hardware for rust bloom, and run the battery backup test. Most gate opener repairs in Orlando run $180 – $340 before parts, and a written price should always come before any work starts.
Table of Contents
- Why Orlando’s Climate Demands a Different Gate Maintenance Schedule
- The 5-Minute Monthly Gate Checklist (Do This Every 30 Days)
- The Orlando-Specific Lubrication Guide: What Works, What Fails
- The 12-Month Orlando Gate Maintenance Calendar
- Battery Backup Testing: The Task Most Orlando Homeowners Skip Until It’s Too Late
- Rust Bloom to Structural Failure: How to Inspect Welds and Hinges
- The Phone Test: Document Your Maintenance in Five Minutes a Month
- Common Mistakes to Avoid
- When to Call a Professional
- Frequently Asked Questions
- The Bottom Line
Why Orlando’s Climate Demands a Different Gate Maintenance Schedule
The maintenance chart in your gate opener’s manual assumes a temperate climate. Orlando is not temperate. From May through September, daytime highs sit above 90°F and the humidity rarely drops below 70%. That combination does three predictable things to a gate system: it accelerates rust formation on bare metal and thin coatings, it degrades lubricants into a gummy sludge that attracts sand and debris, and it cooks the plastic gears and nylon bushings inside the opener until they become brittle. We’ve pulled open LiftMaster and Viking operators in Orlando that had internal components cracked from heat exposure after only four years of service, when the same parts in Kansas or Ohio last a decade.
The second factor is UV intensity. Orlando’s UV index averages 9+ during summer months. Prolonged exposure doesn’t just fade paint. It breaks down the polymer coating on limit switches, causes wire insulation to crack on exposed runs, and makes rubber seals around the control board shrink and leak. When rain gets past a shrunken seal into a Viking or Ghost Controls opener, the control board is usually the first component to short. That’s a $250 – $450 repair, and it’s almost always preventable with a seasonal seal check.
Then there’s the storm pattern. Orlando gets more than 50 inches of rain a year, concentrated in afternoon downpours from June through September, plus the occasional tropical system that parks over the city for three days. A gate that sits in standing water or takes repeated wind-driven rain against its hinge side develops problems in predictable order: first the casters and hinge bearings dry out and screech, then the bottom rail begins to rust from the inside, and finally the opener’s internal gears corrode from humidity intrusion. Understanding this sequence is why the maintenance calendar below starts with storm preparation before hurricane season begins, not after.
The 5-Minute Monthly Gate Checklist (Do This Every 30 Days)
Most Orlando homeowners overthink gate maintenance. It doesn’t need to take an afternoon. What it needs is consistency. Here’s a five-minute routine that catches the majority of failures before they become full gate repairs. Do this on the first Saturday of every month, and note anything unusual in your phone’s notes app.
- Test the auto-reverse safety function. Place a small object (a traffic cone, a cardboard box, a trash can with a brick inside) in the gate’s path while it closes. The gate should stop and reverse direction within one second of contact. If it pushes past the object or shudders instead of reversing, the safety sensor or force setting needs attention. This is the single most important safety test you can do, and it takes 30 seconds.
- Listen to the opener while the gate cycles. Open and close the gate once with the controller, then once with the keypad. A healthy opener hums steadily. A grinding sound usually means worn gears. A clicking sound often points to a failing capacitor or limit switch – that’s the small sensor that tells the gate when to stop at the fully open or closed position. A high-pitched squeal typically indicates a bearing that has gone dry.
- Clear debris from the track and wheel path. Use a leaf blower or a stiff broom to remove leaves, sand, and grass clippings from the track channel and around the wheels. In Orlando’s rainy season, organic debris in the track holds moisture against the metal and accelerates rust. This is the highest-value two minutes in the entire checklist.
- Look at every exposed weld point and hinge. Bend down and check the bottom hinge, the corner welds, and the points where the gate frame meets the opener arm. You’re looking for orange-brown rust staining, hairline cracks, or flaking paint. We cover exactly what rust bloom looks like and when to act on it in the rust section below.
- Run the battery backup test. Unplug the opener from the wall outlet (or switch off the dedicated breaker), then try to open and close the gate with the battery. If the gate moves at full speed, the battery is healthy. If it crawls, stutters, or refuses to move, the battery is dead. In Orlando, where summer storms knock out power weekly in some neighborhoods, a dead backup battery is a stranded-car situation waiting to happen.
If you find something on this list that doesn’t look right and you’re not sure whether it’s urgent, take a 15-second video with your phone and send it to a gate technician. At Calder Gate Repair Orlando, we look at these videos and tell you honestly whether it’s a fix-this-week or a keep-an-eye-on-it situation, and we can point you to more guides & resources if needed. There’s no charge for the opinion.
The Orlando-Specific Lubrication Guide: What Works, What Fails
Why WD-40 Is the Wrong Answer for Orlando Gate Tracks
WD-40 is a water displacer, not a lubricant. It’s designed to drive moisture out of surfaces and provide a very thin, short-lived film. In Orlando’s high humidity and daily heat cycles, WD-40 evaporates within a few days and leaves behind a residue that attracts dust and sand. After a month of repeated applications, that residue combines with grit to form a paste that actually increases friction on the track and the opener chain. We’ve serviced gates in Winter Park and Baldwin Park where homeowners had been spraying WD-40 on the chain every week, and the chain looked like it had been dipped in grinding compound.
What to Use Instead
- White lithium grease (spray or tube) for hinges and pivot points. White lithium holds up to 300°F and won’t run off in Orlando’s summer heat. Use it on the hinge pins, the opener arm pivot, and any moving joint that doesn’t touch the ground. Reapply every 3 – 4 months during the rainy season, and every 6 months during the dry season.
- Silicone spray for tracks, rollers, and the safety sensor lenses. Silicone doesn’t attract dust, won’t gum up in humidity, and is safe on plastic, rubber, and most painted surfaces. Spray it on the track channel, the wheel bearings if they’re exposed, and wipe down the photo-eye sensor lenses with it to prevent condensation buildup.
- Marine-grade grease for the gate chain (if your system has one). A waterproof, salt-resistant marine grease is the best choice for chain-driven openers in Central Florida. It resists washout from rain and won’t thin out in 95°F heat. Apply a light coat to the chain every 4 – 6 months.
- Graphite powder for locks and the keypad’s mechanical buttons. Liquid lubricants in locks collect dust and eventually seize up. Graphite powder is dry, won’t attract debris, and works well in Florida’s humidity.
One more Orlando-specific note: don’t lubricate right before a storm system moves through. If you apply any lubricant and then get three days of heavy rain, the fresh lubricant gets washed off or emulsified before it can penetrate. Check the forecast and pick a dry stretch of two or three days.
The 12-Month Orlando Gate Maintenance Calendar
Here’s the month-by-month schedule we recommend to every homeowner we work with across Orlando. It accounts for hurricane season, the dry winter months, and the intense summer UV window. If you do nothing else from this guide, doing the three bolded seasonal tasks – pre-hurricane prep, post-storm check, and dry-season lubrication – will dramatically reduce your odds of facing an emergency electric gate repair.
January – Dry Season Lubrication Cycle Begins
January is the start of Orlando’s driest window, with average rainfall under 2.5 inches for the month. That makes it the ideal time to do a full lubrication pass. The metal is cool enough to hold lubricant properly, and you won’t lose the application to daily downpours. Grease all hinge pins, the opener arm pivot, and the chain if applicable. Also check the gate’s vertical trim seals and bottom weatherstripping for cracking – cold fronts can make brittle rubber split.
February – Electrical Connection Inspection
The dry air in February also means lower humidity inside the opener housing, which reduces condensation risk when you open the cover. Turn off the power, remove the cover, and visually inspect the wire connections and the control board. Look for white or green corrosion on terminals, scorch marks, or swollen capacitors. Tighten any loose terminal screws gently. This is also a good month to clean the solar panel (if your gate uses one) with a damp cloth – winter dust on the panel reduces charging efficiency.
March – End of Dry Season, Full System Test
Run the gate through 10 full open-close cycles from both the remote and the keypad. Count the seconds for a full cycle and write that number down in your phone. If it’s noticeably slower than the last test, the opener’s motor or gearbox is wearing and should be evaluated. March is also when you should check the manual release handle: pull it, confirm the gate swings or slides freely by hand, and re-engage it. If the gate is hard to move by hand, the hardware or track has an alignment issue that the opener is fighting against every cycle.
April – Pre-Season Bolt and Fastener Check
Walk the entire gate and check every visible bolt, nut, and screw. Use a wrench, not just your fingers. Vibration from daily cycling loosens hardware over time, and a gate with loose hinge bolts flexes more in wind and wears its bearings out faster. This matters more in April because June’s afternoon thunderstorms produce sudden, hard gusts that can wrench a loose gate or send it slamming against its stops.
May – Hurricane Season Prep (Critical Month)
Hurricane season starts June 1, and May is your only non-emergency window to get the gate storm-ready. Go through this list start to finish:
- Confirm the battery backup holds a full charge. Unplug the opener and run the gate at least three full cycles on battery power. If the gate slows on the second or third cycle, replace the battery. In a power outage, you may need to cycle the gate multiple times.
- Clear the drainage path around the gate. Check that the area under and around the gate drains freely. If water pools at the base of the gate posts during heavy rain, it accelerates rust and can eventually undermine the post footing.
- Check the gate’s wind resistance. The gate should not rattle or flex more than one inch at its leading edge when you push and pull on it firmly. Extra motion in wind shock-loads the opener’s gears.
- Photograph the gate from four angles. Put these photos in a folder labeled “Pre-storm.” If a storm damages the gate, these are your insurance documentation. This simple step can save thousands in a claims dispute.
- If your gate is showing significant rust or sag, get it evaluated before June. The last thing you want is to discover a structural problem during a tropical storm warning, when every gate opener repair company in Orlando is booked solid.
June – Rainy Season Begins: Biweekly Debris Clearing
From June through September, move debris clearing to twice a month instead of once. Orlando’s afternoon thunderstorms knock leaves, small branches, and pollen into the gate track every single week. Wet debris held in the track is the number one cause of rust bloom on the bottom rail and the wheel brackets. After each heavy rain, check the photo-eye sensors for condensation or mud spatter and wipe the lenses clean.
July – Peak Heat Component Audit
Ground temperatures in Orlando can exceed 140°F in July. The opener’s internal components are running hotter than they do in any lab test. This is the month to pay close attention to sound: any new grinding, whining, or hesitation in the opener is more urgent in July because heat accelerates mechanical failure. If the opener is warm to the touch on the outside of its housing after a normal cycle, that’s normal in July. If it’s hot to the touch and the gate cycles slowly, shut it off and call for service – that’s a motor and capacitor risk, not a maintenance item.
August – UV Seal Inspection
Orlando’s UV index peaks in August, and this is when we see the most failed seals. Walk around the gate and inspect every rubber or plastic component: the weatherstripping on the gate frame, the boot around the opener arm, the gasket where the wire enters the control box, the keypad’s faceplate seal. Look for cracked, shrunken, or chalky material that you can flake with a fingernail. A shrunk gasket on a DoorKing or Ghost Controls control box lets rain in, and a wet control board fails quickly. Replacing a gasket now is a $20 fix. Replacing a control board is $300 – $600.
September – Peak Storm Month: Emergency Preparedness
September is historically Orlando’s most active storm month. The battery backup should be tested monthly now, not quarterly. Write down the keypad codes and remote pairing instructions and put that paper in a drawer inside the house – if the system resets after a power surge, you’ll want to know how to re-sync without hunting for the manual. Also review your gate’s manual release procedure so you can open and close the gate by hand in an extended outage. If your gate faces the street and your neighborhood has an HOA, this is the month to confirm with them who is responsible for storm-damage repairs on shared or frontage gates, and to review Gate Repair Permits, Codes & Inspections in FL: What You Need to Know if any work is planned.
October – Post-Storm Check
After the last significant storm of the season, do a full inspection: run the gate 10 cycles, listen for new noises, look for new rust at the bottom rail and the post bases, and check that the gate still opens and closes squarely in its track. Wind stress can shift a gate’s alignment by a quarter-inch, which is enough to make it scrape or bind. Pay special attention to the hinge side after high wind – this is where storm damage shows first. October is also the right time to re-lubricate anything that got washed clean during the rainy season.
November – Winter Visitor Season: Check Safety Features
As the holidays approach and you have more visitors, delivery drivers, and guests arriving, the safety sensors and auto-reverse function deserve special attention. Test the auto-reverse with an actual object, and make sure the photo-eye alignment is correct. A gate that doesn’t auto-reverse correctly is a liability issue waiting for a guest’s car bumper. Also clean the keypad and remote housings, and replace the remote batteries so nobody gets locked out on a holiday weekend.
December – Year-End Documentation
Take a fresh set of photos from the same four angles you photographed in May. Compare them side by side. What’s changed? New rust points, sag, wear marks, cracks? This before-and-after documentation is valuable for two reasons: it gives you a clear picture of how fast your gate is degrading, and it’s the record you’ll want if you ever file a warranty claim or an insurance claim. Note the installation date and opener brand in the same folder. Linear and Viking warranties both require maintenance documentation in some cases, and this file IS that documentation.
Battery Backup Testing: The Task Most Orlando Homeowners Skip Until It’s Too Late
Here’s a pattern we see across every Orlando neighborhood: the gate works fine, the starter battery on the opener is five years old and has never been tested, and then a summer thunderstorm knocks out power for six hours while the homeowner is still at work. The gate won’t open from the street. The manual release is on the inside of the property. The homeowner climbs the fence or calls a neighbor. Sound familiar?
The battery backup in a gate opener is a consumable. It has a lifespan of roughly 3 to 5 years in Orlando conditions, and heat degrades that lifespan faster than in cooler climates. The time to find out your battery is dead is not during an outage. It’s on a dry, quiet Saturday morning with a cup of coffee in your hand.
Here’s the testing procedure we recommend, in order:
- Unplug the opener from the wall or switch off its dedicated breaker. Wait 30 seconds for the system to register the power loss.
- Cycle the gate open and closed on battery power. Watch the speed. A healthy battery moves the gate at nearly normal speed. A degraded battery moves it noticeably slower.
- Cycle it again. The second cycle tells you more than the first. A battery that manages one cycle and crawls through the second is on its way out. In a real outage you may need to open the gate three or four times.
- If the battery fails either cycle, replace it. A replacement battery is usually $40 – $90 for most residential systems, and installation is straightforward if the terminals are accessible. If yours isn’t accessible, a gate technician can do it while doing a general tune-up.
Test the backup battery monthly during hurricane season (June through October) and every other month the rest of the year. Keep a note in your phone with the test date and result. If your opener is a Ghost Controls or Viking model, pay extra attention to the battery every August. Those brands use sealed lead-acid batteries that degrade faster in high heat than the lithium packs in some newer models.
Rust Bloom to Structural Failure: How to Inspect Welds and Hinges
Rust in Orlando is not a cosmetic problem. It’s a structural timeline. Most gate failures don’t happen at the opener – they happen at the hinge hardware where rust has been quietly eating away at the steel for two years before anyone notices. By the time a weld cracks or a hinge pin shears, the gate is beyond a simple repair. It’s a replacement job that can run $1,500 to $4,000 depending on the gate’s size and material.
Here’s what to look for, in order of severity:
- Stage 1: Rust bloom (surface rust). This looks like orange-brown staining that hasn’t created any gaps or flakes yet. You can see it around bolt heads, along the bottom rail, and where the gate frame meets the hinge plate. Act now: wire-brush it, treat with a rust converter, and repaint. Stage 1 caught early costs you maybe $30 and an hour. Ignored, it becomes Stage 2 within 6 – 12 months in Orlando humidity.
- Stage 2: Flaking and pitting. The rust has now created visible flakes and shallow craters. The metal is thinning. Sanding won’t fully reverse it, and the structural margin is shrinking. This is when you should call a professional to evaluate whether the gate is worth saving.
- Stage 3: Through-rust and weld failure. You can see daylight through holes in the bottom rail or you can see cracks radiating from welds. At this stage the gate is a safety liability. A gate that falls off its hinges can badly injure someone. Don’t wait. Replace the affected section or the entire gate.
The single most important inspection point on a swing gate is the bottom hinge. It carries the most weight and sits closest to the ground, where splashback from rain keeps it damp. On a sliding gate, the bottom of the gate frame and the track wheels deserve the closest attention – they run through standing water constantly during Orlando’s rainy months.
A good habit: once a quarter, take a close-up photo of both hinges and the bottom rail on your phone. Compare the photos each quarter. You’ll see degradation happen in pictures that you wouldn’t notice day-to-day.
The Phone Test: Document Your Maintenance in Five Minutes a Month
We tell every Orlando homeowner this: your phone is the single most valuable maintenance tool you own. Here’s the routine we suggest. Do the five-minute checklist, then spend two minutes documenting what you did. Open a note in your phone’s notes app titled “Gate Maintenance” and log three things: the date, what you inspected, and anything that didn’t look or sound right.
Better yet, take a 10-second video of the gate cycling while you stand near the opener. Your phone records the sound. Six months later, when the opener is making a new noise, you can pull up that video and compare. It sounds simple, and it is, but it’s the single best diagnostic record a technician can ask for. When you call with a problem and you can text us a before-and-after video, we can often diagnose the issue over the phone or at least walk you through a quick visual check before we schedule a visit.
This documentation protects you in two specific ways. First, with warranties: if a Linear or DoorKing opener fails under warranty and the manufacturer asks for proof of maintenance, your photo and video log is the proof. A homeowner who can’t show any maintenance record often gets a denied claim. Second, with insurance: if your gate is damaged in a storm and the insurer asks whether the gate was properly maintained before the damage, your dated photo log answers that question. A gate that was documented as rusted and sagging before the storm may be denied a damage claim. A gate that was documented as well-maintained has a much stronger claim.
This is the same principle we build into our own work at Calder Gate Repair Orlando. Every repair gets before-and-after photos and a digital invoice you can access from your phone. Your maintenance record should work the same way, and it costs you nothing but about five minutes a month.
Common Mistakes to Avoid
- Using WD-40 on the track and chain. WD-40 evaporates quickly, attracts dust, and leaves a gummy residue in Orlando humidity. Use white lithium grease or silicone spray instead.
- Skipping the battery test until a power outage happens. A dead backup battery only shows itself when the gate won’t open from outside the property. Test it monthly during hurricane season.
- Photographing rust but never acting on it. We see Orlando garages full of photos of rusted hinges, while the hinges themselves keep degrading. A photo doesn’t slow rust. A wire brush and rust converter do.
- Lubricating right before a three-day rain system. Fresh lubricant gets washed off before it penetrates. Check the forecast and pick a dry window.
- Ignoring slower cycle speeds. A gate that takes longer to open than it did six months ago is telling you the opener’s working harder than it should. Waiting until it stops completely turns a $200 repair into a $600 opener replacement.
- Overlooking the photo-eye sensors. A dirty or misaligned sensor makes the gate refuse to close, which many people misdiagnose as an opener failure. Cleaning the lens and verifying alignment fixes more gate problems than any other 30-second fix.
- Not knowing where the manual release lever is until you need it. In an extended power outage, you need to open and close the gate by hand. Find the release mechanism now, and practice it once while everything works.
When to Call a Professional
Some gate problems are maintenance items. Others are electrical and mechanical failures that get worse the longer you wait. Call a professional if the opener trips its breaker repeatedly, if the gate makes a grinding or popping noise you haven’t heard before, if the gate visibly sags or scrapes the ground, if the auto-reverse safety feature isn’t working, or if you’ve noticed rust through the steel rather than just on the surface. Any gate that weighs 300 pounds or more has enough mass to cause serious injury if it falls or slams unexpectedly, so structural concerns are never a DIY project. Calder Gate Repair Orlando offers our Gate Repair services with free estimates in Orlando – call (850) 338-6230 and we’ll look at it with no obligation.
Frequently Asked Questions
Most gate opener repairs in Orlando run $180 – $340 before parts, and common part replacements like limit switches, capacitors, and remote receivers typically add another $40 – $150. A full opener replacement runs $650 – $1,500 depending on the brand and gate type. Structural repairs like replacing a rusted bottom rail or hinge assembly can run $400 – $1,200. You should always get a written price before any work starts. Call (850) 338-6230 for an exact quote – estimates are free.
A five-minute visual and functional check every month is the right baseline for Orlando homeowners, with more frequency during hurricane season for debris clearing and battery testing. Full lubrication should happen every three to four months during the rainy months and a thorough component inspection twice a year.
Yes, the gate works normally on line power without a functional backup battery, but it loses its ability to open during a power outage. Most gate openers keep the backup battery on a trickle charger, and when that battery dies, the gate simply has no reserve. Replacing a dead battery is usually under $100 in parts.
The most common problem we see across Orlando is photo-eye sensor misalignment or failure, followed closely by dead backup batteries and rusted hinge hardware on older steel gates. The sensors get knocked out of alignment by wind and gate vibration, and the dead battery issue shows up after the first storm-related outage of the summer.
We work on nine major brands including LiftMaster, FAAC, BFT, Linear, Viking, Ghost Controls, DoorKing, Elite, and Mighty Mule. That covers virtually every gate opener a homeowner in Orlando is likely to own. Call (850) 338-6230 and tell us what brand you have – we’ll tell you honestly what it needs.
If the rust has gone through the steel (you can see holes or cracks), the gate is usually a replacement job. If the opener is more than 10 years old and the gate also has moderate rust, a full replacement often makes more financial sense than pouring money into a gate that’s nearing the end of its service life. A good gate technician will give you a straight answer either way.
The Bottom Line
Orlando’s climate punishes gates faster than the manufacturer’s manual assumes: 90+ degree heat, 50 inches of rain, hurricane winds, and UV that peaks in August. The homeowners who avoid emergency repairs are the ones who follow a seasonal rhythm: pre-hurricane prep in May, monthly battery tests during storm season, dry-season lubrication from January through March, and a rust inspection every quarter, documented with photos. Five minutes a month and a few longer sessions per year will almost always beat a four-figure emergency repair; for Gate Repair Warning Signs: A Orlando Homeowner’s Reference Guide, see our dedicated post. If something on your checklist looks wrong and you’d rather not guess, Calder Gate Repair Orlando is a phone call away at (850) 338-6230 – a real person answers 24/7, and every repair starts with a written price before anything gets touched.
Written by Nico Alvarez, Owner at Calder Gate Repair Orlando, serving Orlando since 2009.
See the difference
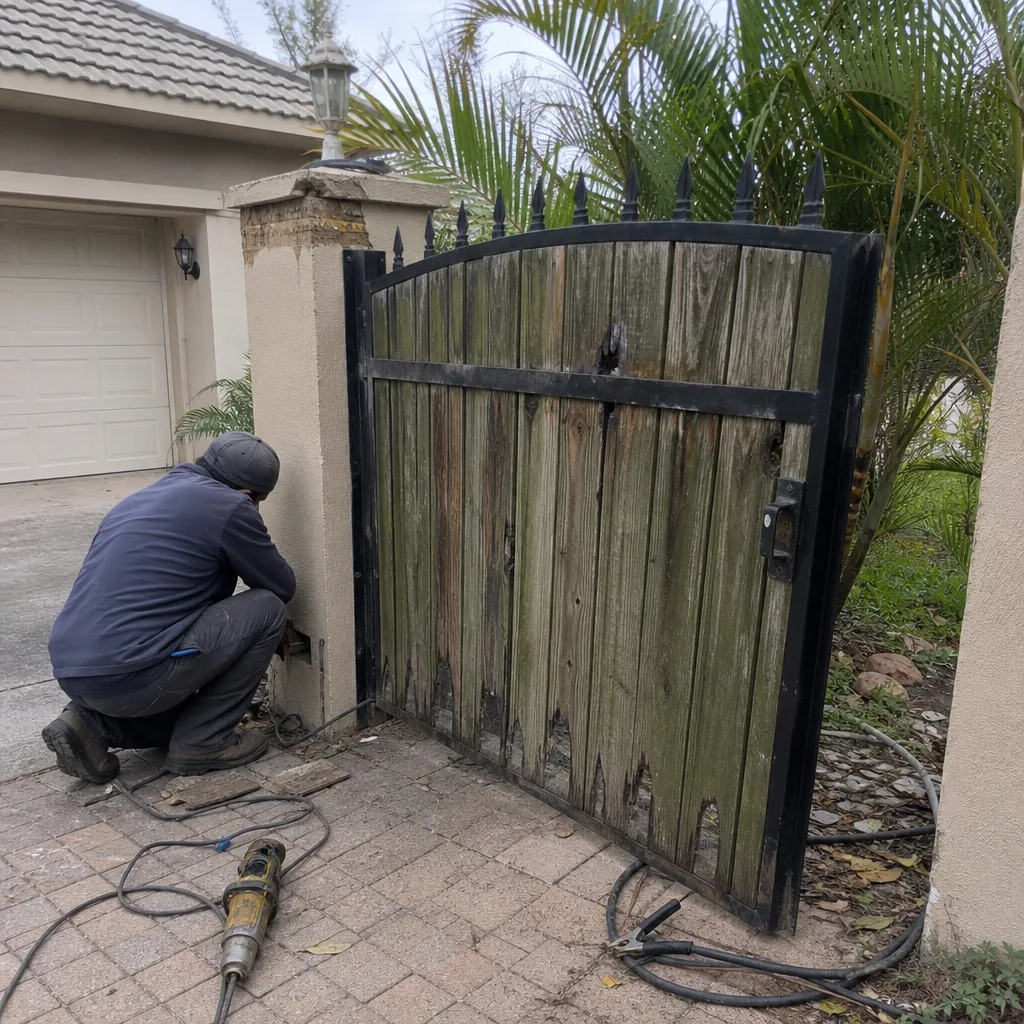 Before
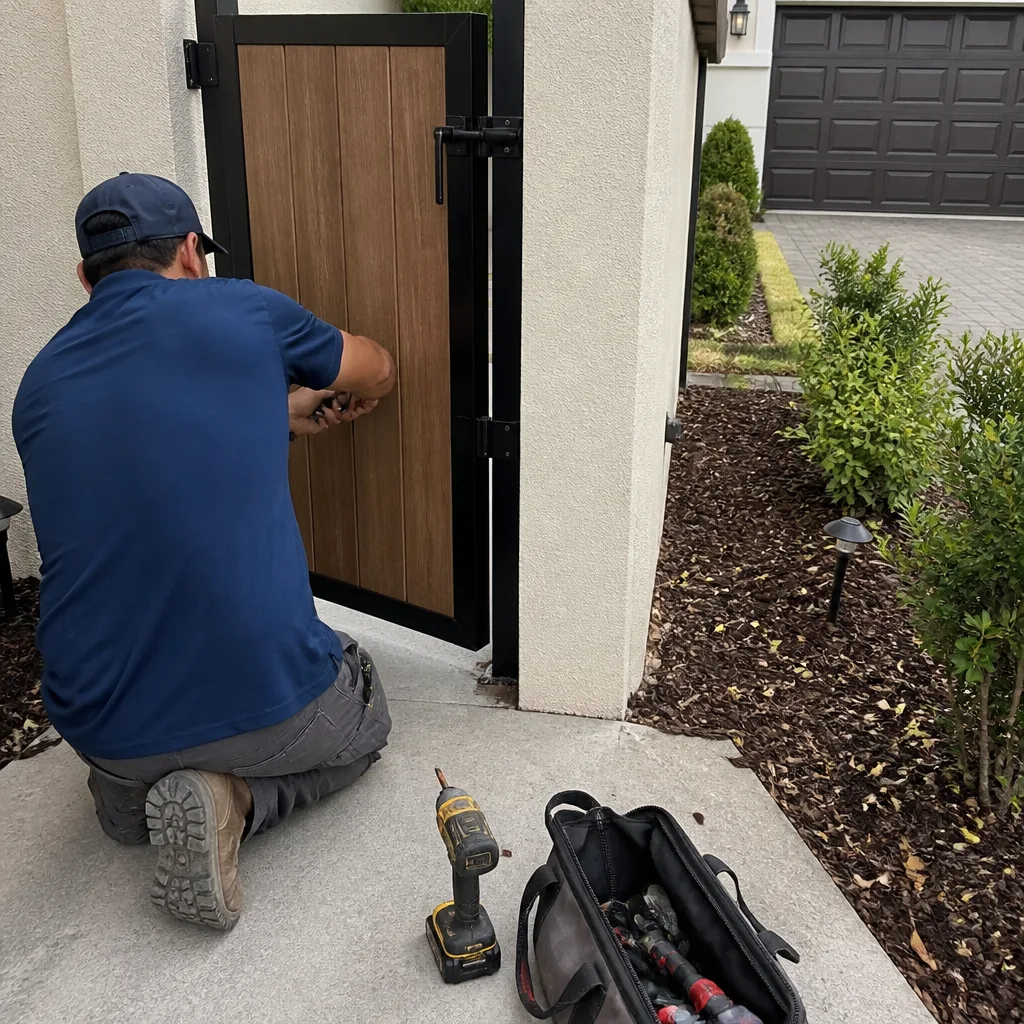 After
After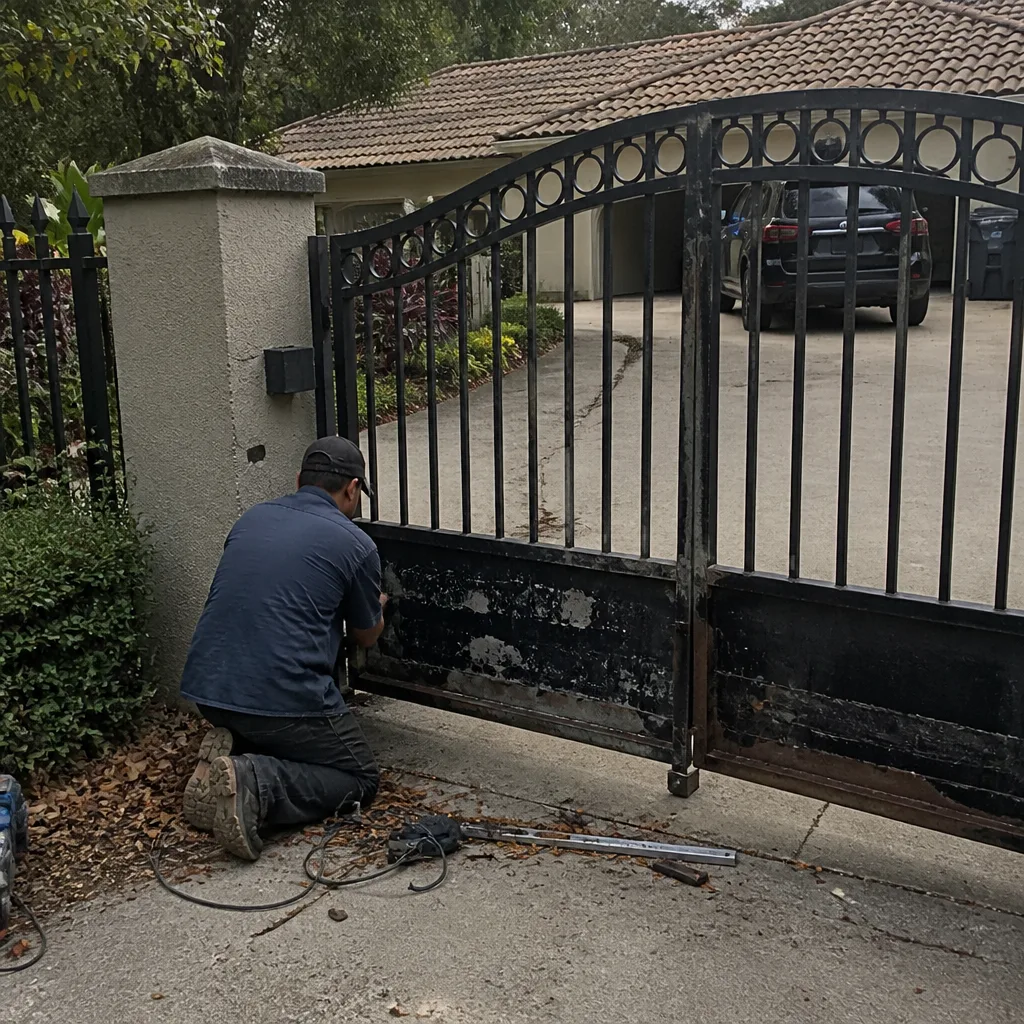 Before
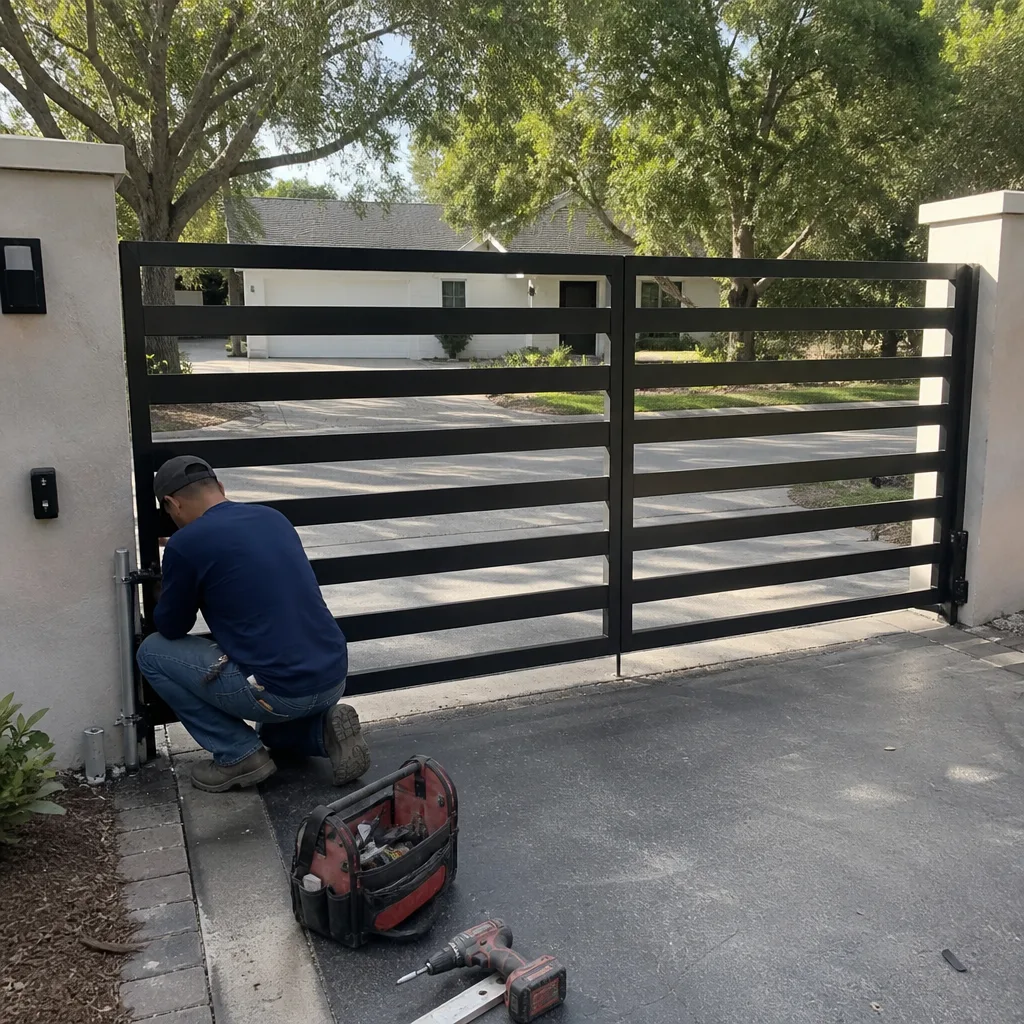 After
After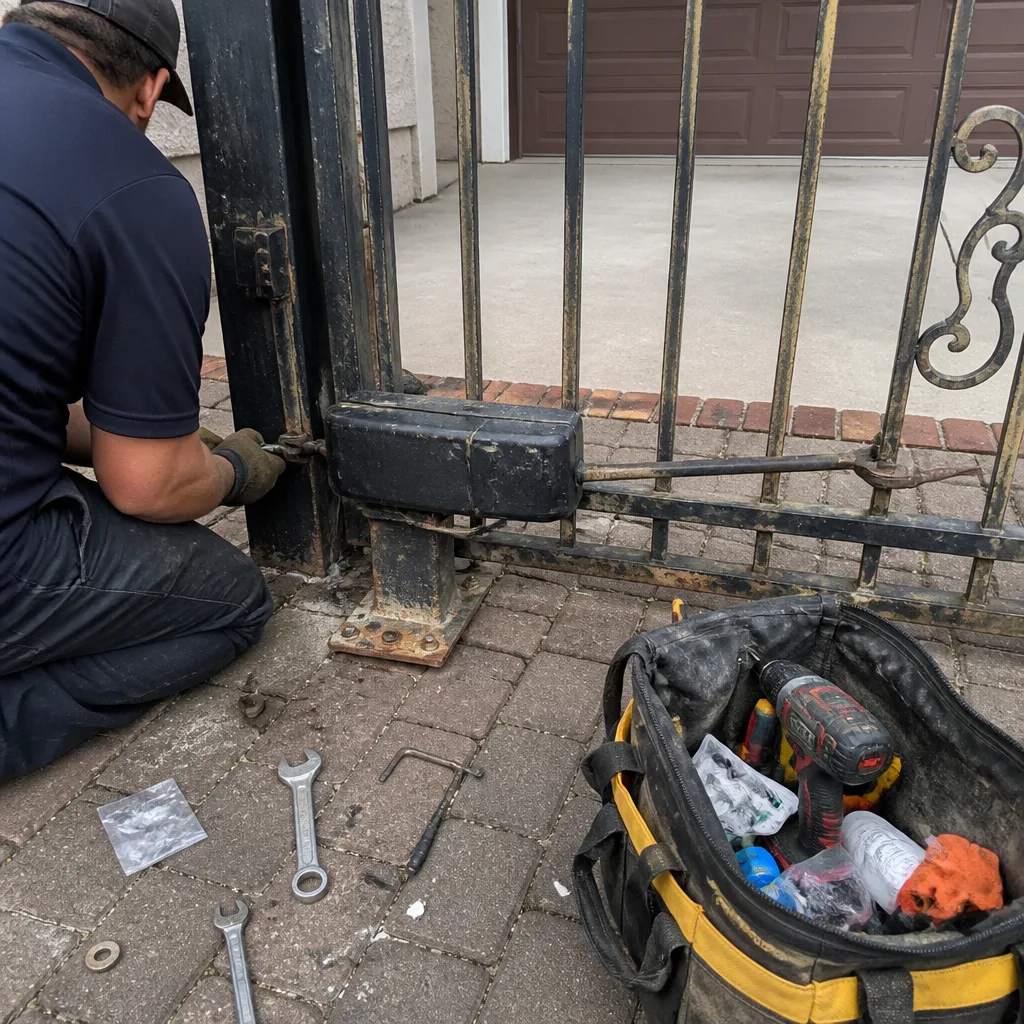 Before
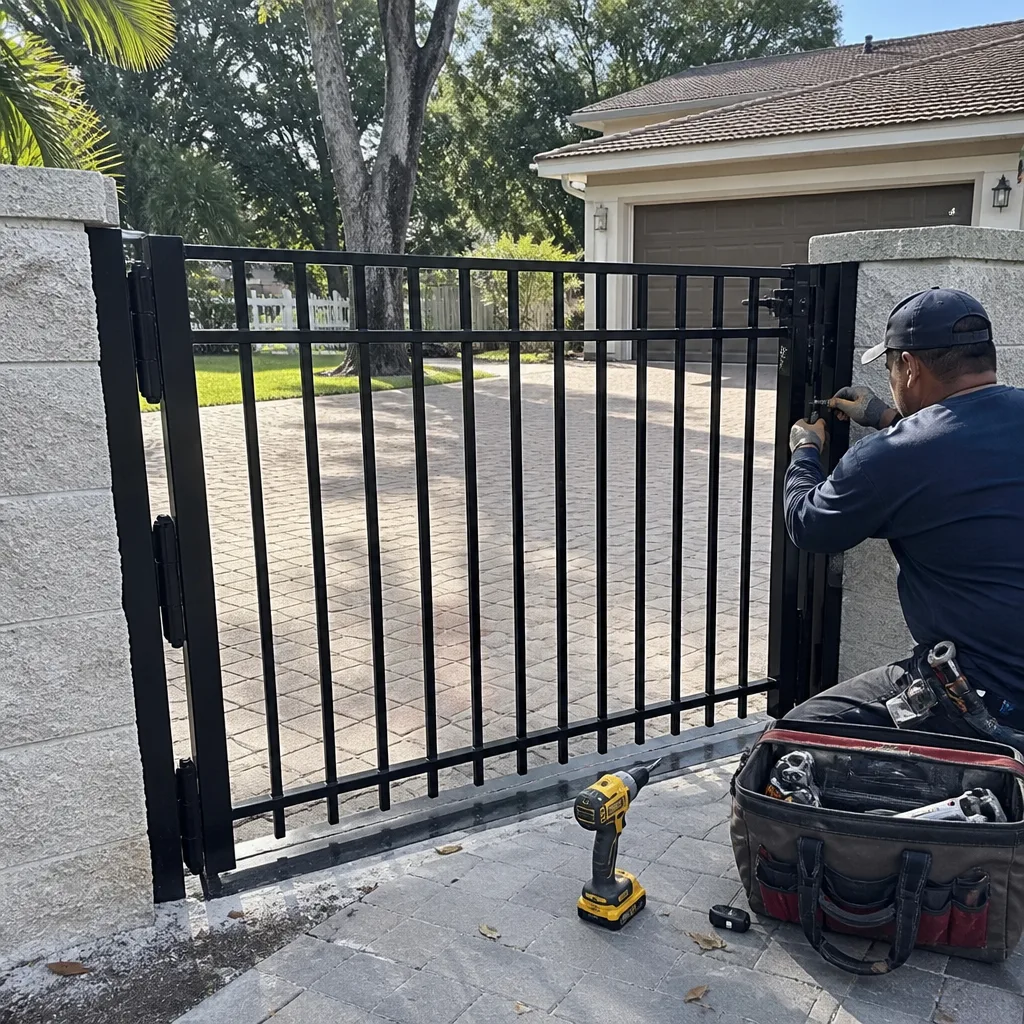 After
After